
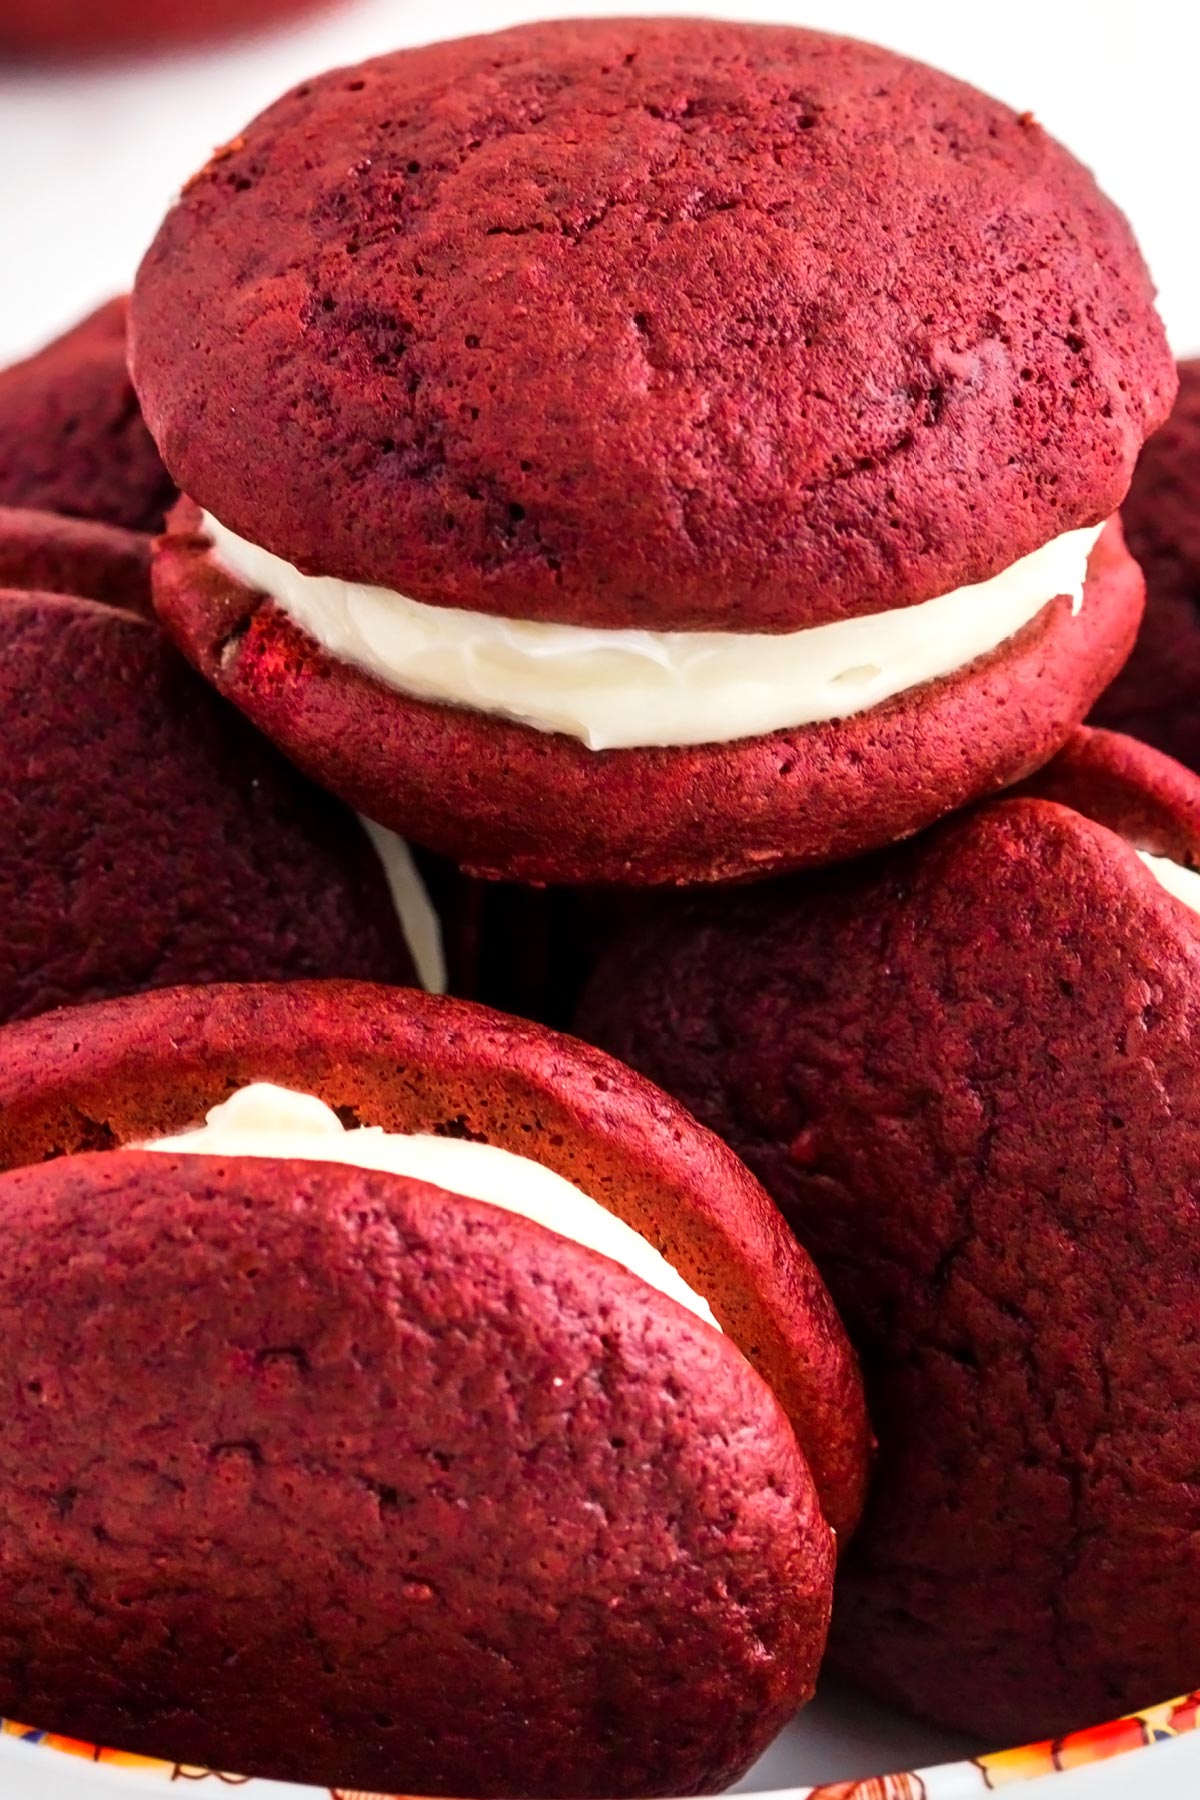
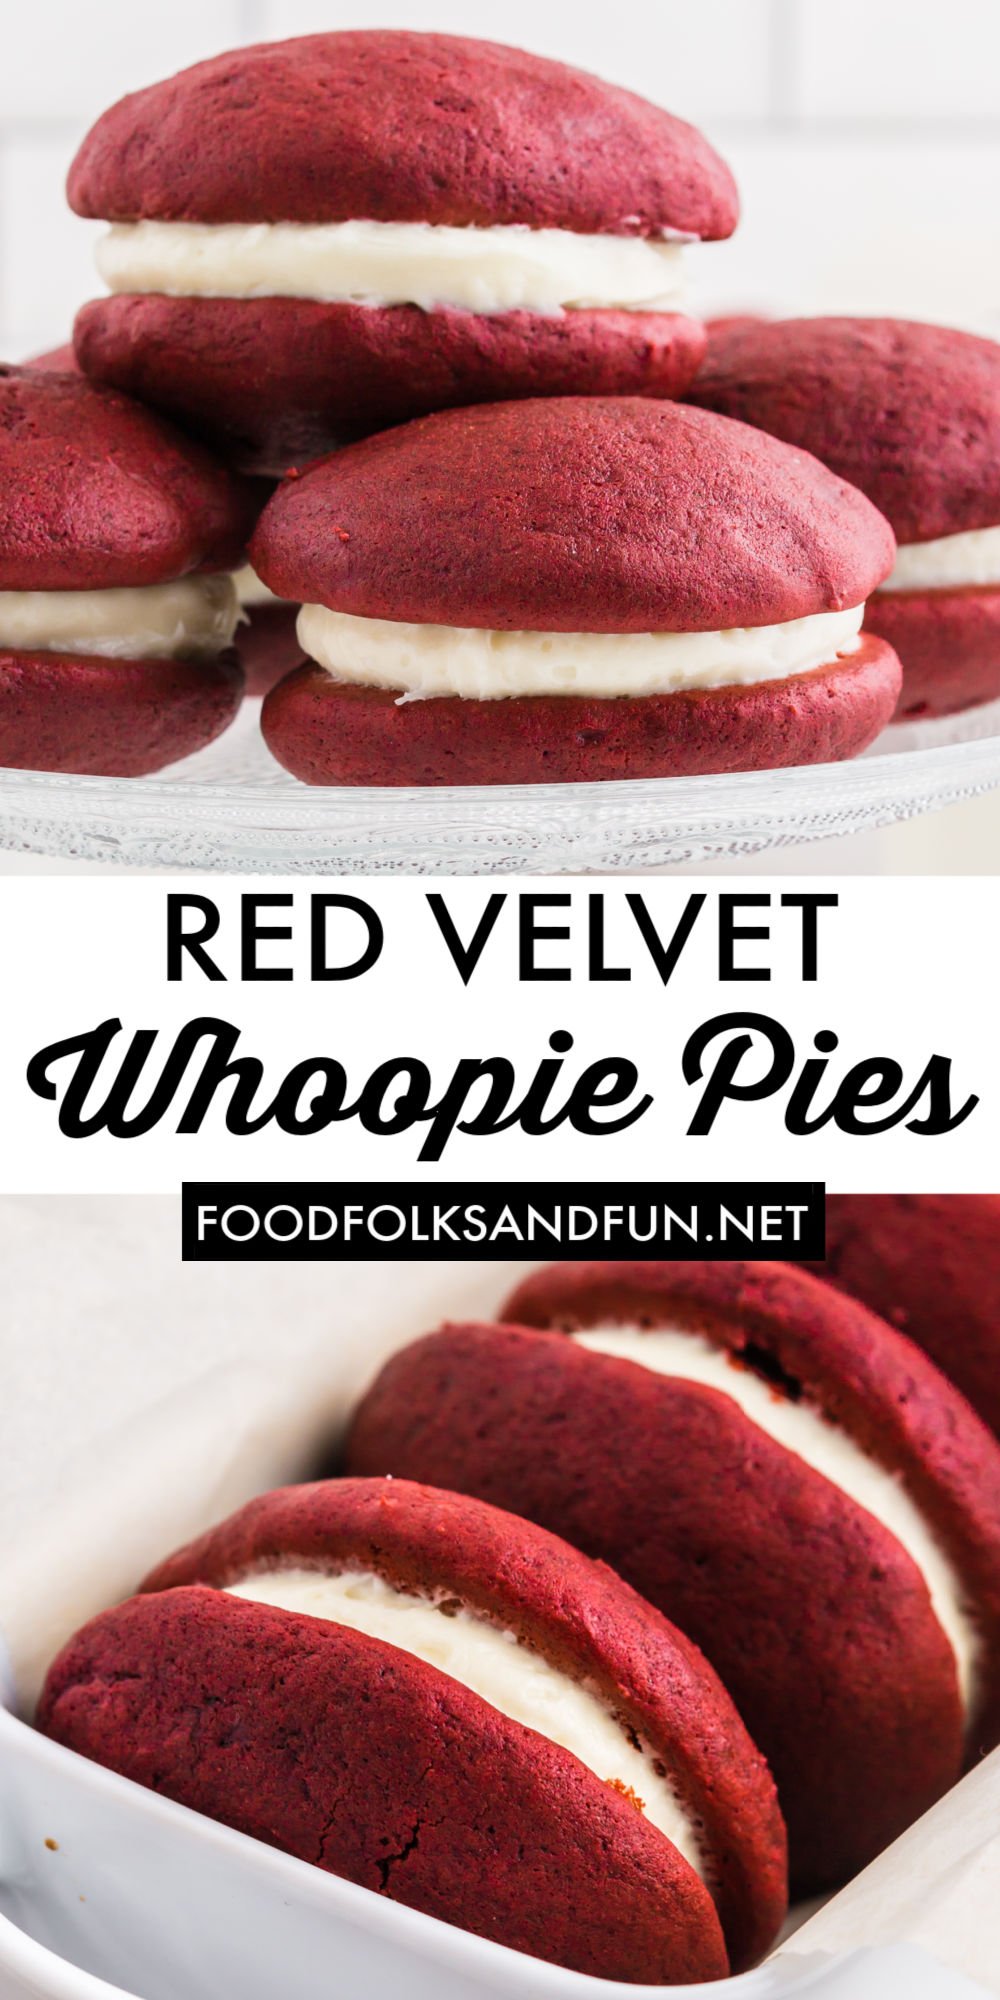
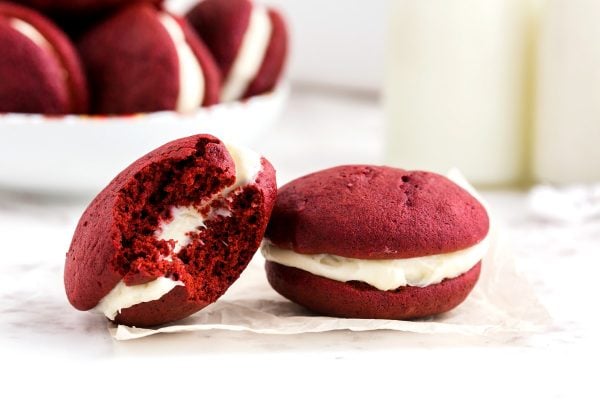
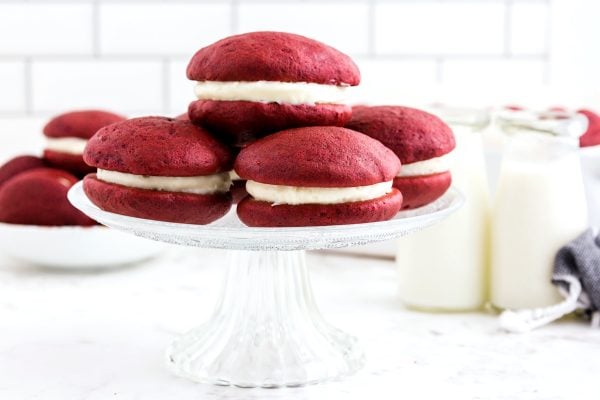
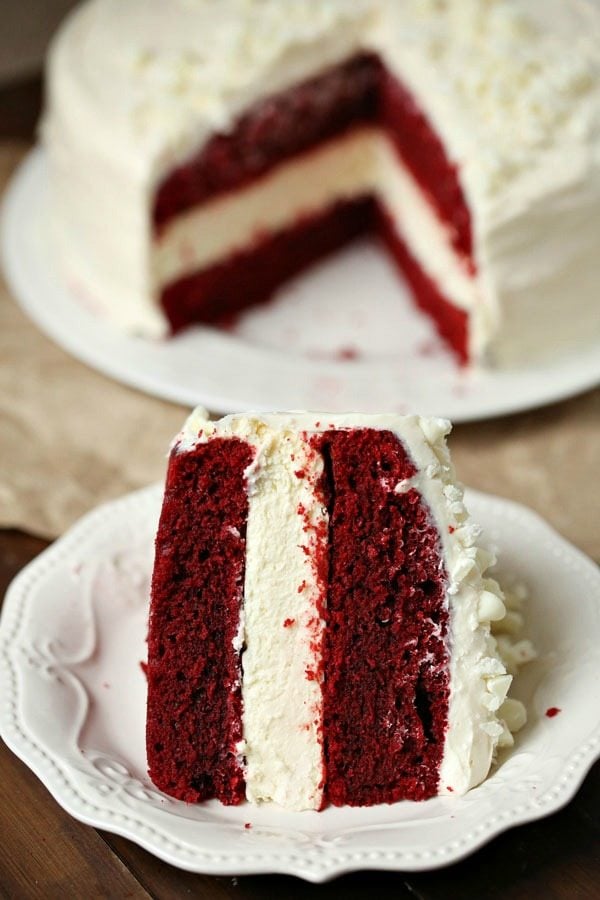
Red Velvet Whoopie Pies are two little red velvet cakes filled with a dreamy cream cheese filling. These are great for Christmas and Valentine’s Day.
This Red Velvet Whoopie Pies recipe serves 24 and costs about $9.01 to make. That is only $0.38 per serving.
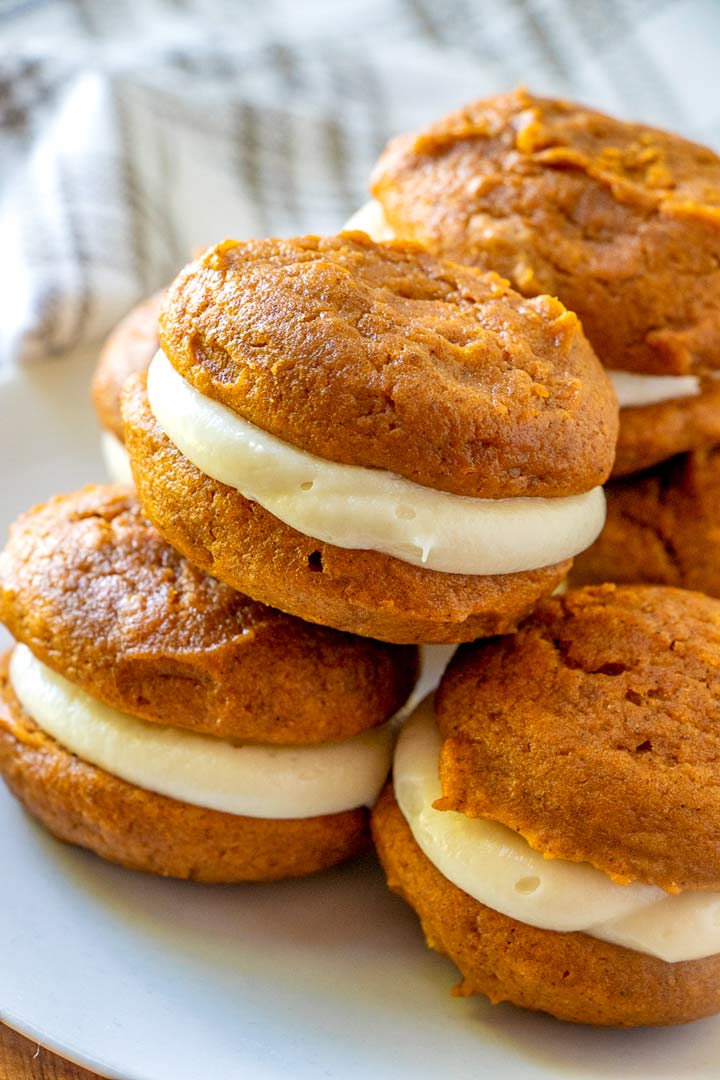
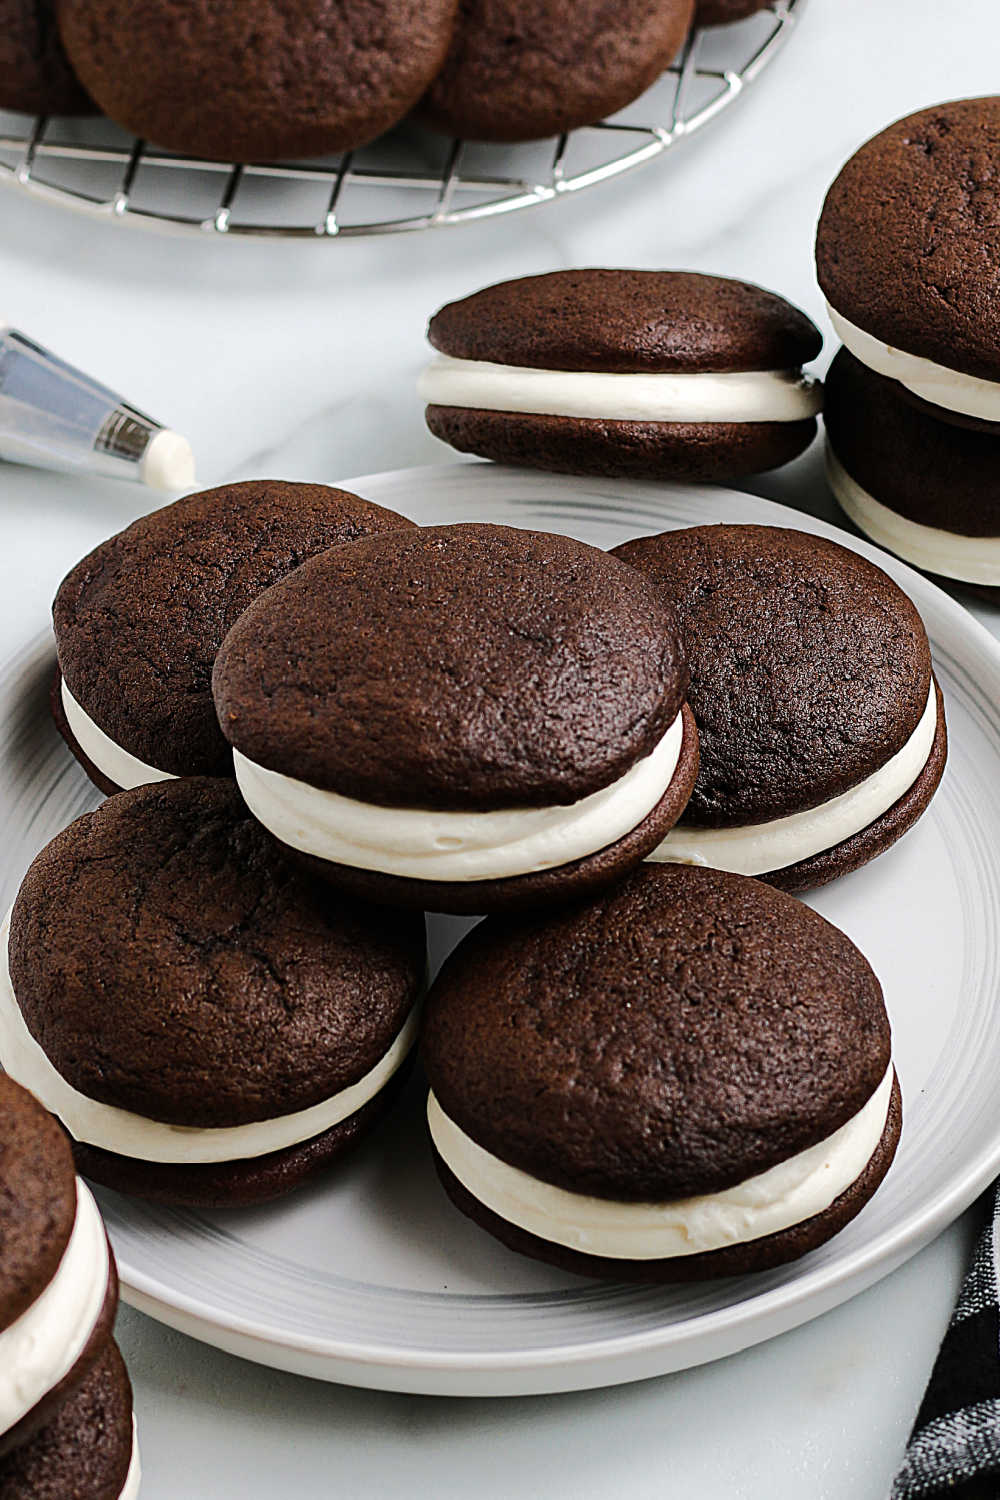
I love Whoopie Pies so much, make sure you check out my Pumpkin Whoopie Pie, Carrot Cake Whoopie Pies, and Chocolate Whoopie Pies recipes.

Red Velvet Whoopie Pies
Whoopie Pies are a favorite dessert. They are a cake-like texture in a cookie form sandwiched together with a cream cheese frosting. Think cupcakes but better!
These Red Velvet Whoopie Pies are soft and pillowy with a bright and vibrant color. The red velvet flavor combined with the cream cheese filling is PERFECT!
Enjoy these for Christmas, Valentine’s Day, or any other day just because!
Can you freeze whoopie pie filling?
Yes, you can freeze the whoopie pie filling after making it. Store it in an airtight container before placing it in the freezer.
Why do my whoopie pies come out flat?
If your whoopie pies are flat, it is probably due to an issue with the batter being too thin. The measurements in the batter are critical. If they are off at all, there will be issues with the batter. Measure twice and mix once is always my motto.
How did whoopie pies get their name?
One might think that whoopie pies are named after Whoopie Goldberg, but this is not the case. The theory is that the pies originated in the Pennslyvania Dutch Country. And when the husbands and children would see the treat that was being made for them, they would exclaim, “Whoopie” out of pure excitement.
How to make Red Velvet Whoopie Pies:
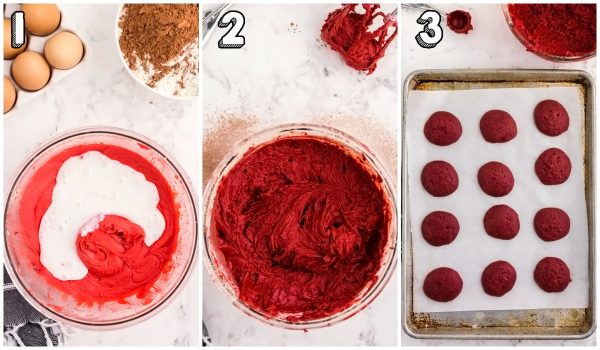
- Mix the wet ingredients.
- Add in the sifted flour mixture.
- Scoop the batter into rounds on the prepared baking sheets and bake.
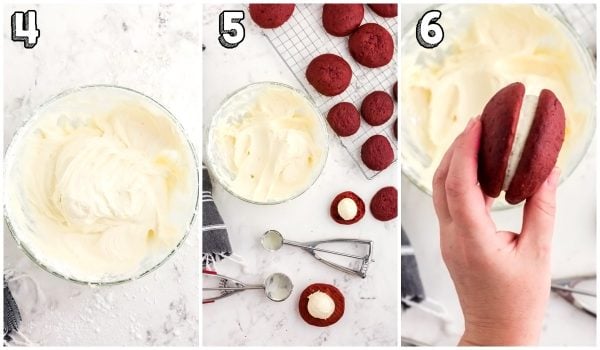
- Add the cream cheese filling ingredients to a bowl and beat until creamy.
- Scoop the filling onto the cooled red velvet cakes.
- Sandwich together and serve.
Cook’s Tools:
- Baking sheets
- Mixing bowls
- Handheld mixer
- Rubber scraper
- Flour sifter OR fine mesh strainer
- cookie scoop
- Wire cooling rack
How much will this Red Velvet Whoopie Pies recipe cost to make:
RECIPE COST: $9.01
PER SERVING COST: $0.38
NOTE: The recipe prices are calculated by using grocery store websites. The actual cost of the recipe will vary depending on what ingredients you already have.

3 cups all-purpose flour – $0.57
½ teaspoon salt – $0.01
1 ½ teaspoons baking soda – $0.02
1 cup salted butter – $1.60
6 tablespoons unsweetened cocoa powder – $0.60
1 cup light brown sugar – $0.48
⅓ cup granulated sugar – $0.12
2 large eggs – $0.20
1 Tablespoon vanilla extract – $0.92
1 Tablespoon red liquid food coloring or red gel food coloring – $0.87
8 oz. package cream cheese – $1.96
1 cup buttermilk – $0.58
3 cups powdered sugar – $0.87
2-3 Tablespoons heavy cream – $0.21
More Desserts:
- Red Velvet Cupcakes
- Copycat Red Velvet Cheesecake Cake
- Red Velvet Brownies
- How to make Cannoli Cream
- Homemade Cannoli Shells
- Chocolate Cannoli Tart
- Pink Macarons with White Chocolate Ganache
- Chocolate Chip Cookies
- Spiced Creme Brulee
- Black and White Cookies

Red Velvet Whoopie Pies
Equipment
- baking sheet
- mixing bowls
- handheld mixer
- rubber scraper
- Flour sifter OR fine mesh strainer
- Cookie scoop
- wire cooling rack
Ingredients
RED VELVET BATTER:
- 3 cups all-purpose flour
- 6 tablespoons unsweetened cocoa powder
- ½ teaspoon salt
- 1 ½ teaspoons baking soda
- ½ cup salted butter softened
- 1 cup light brown sugar packed
- ⅓ cup granulated sugar
- 2 large eggs
- 2 teaspoons vanilla extract
- 1 Tablespoon red liquid food coloring or red gel food coloring
- 1 cup buttermilk
CREAM CHEESE FILLING:
- ½ cup salted butter softened
- 8 oz package cream cheese softened
- 3 cups powdered sugar sifted
- 1 teaspoon vanilla extract
- 2-3 Tablespoons heavy cream
Instructions
MAKE CAKE:
- Preheat the oven to 350°F. Line two baking sheets with parchment paper and set aside.
- In a small bowl, combine dry ingredients: flour, cocoa powder, salt, and baking soda.
- In a large mixing bowl, beat together butter, granulated sugar, and brown sugar until combined and fluffy (because of the large proportion of brown sugar, the butter and sugars will not cream into a fluffy, pale yellow mixture).
- Beat eggs into butter/sugar mixture until batter is fluffy. Add vanilla extract and combine.
- Add in red gel or liquid food coloring and beat, scraping down the sides of the bowl thoroughly to ensure the color is evenly distributed throughout the batter. Add enough food coloring to make a vibrant/dark red.
- Beginning and ending with the buttermilk, rotate adding the buttermilk and sifted dry ingredients until all ingredients are incorporated. The red color of the batter will deepen with the addition of the cocoa powder.
- Use a 1 ½ or 2 Tablespoon cookie scoop and place even scoops of batter onto the prepared pans. Leave about 2” of space between scoops.
- Bake for about 10 minutes or until the cake springs back when pressed gently with your finger.
- Remove the cakes from the oven and cool on the cookie sheets for 3-4 minutes before transferring to a cooling rack to cool the rest of the way. While cakes are cooling, prepare the cream cheese filling.
MAKE FILLING:
- Beat together softened cream cheese, butter, and vanilla extract until combined.
- Beat in 3 cups of powdered sugar.
- Add 1 tablespoon of heavy cream at a time until the desired consistency of frosting is achieved.
ASSEMBLE:
- Use the same size cookie scoop that you used to form batter scoops to add the proper amount of frosting into each whoopie pie.
- Place a scoop of frosting onto the center of the flat side of one of the cakes. Sandwich the frosting together with a second cake and squeeze gently until frosting reaches the edge of the whoopie pie.
SERVE:
- Serve to store in an airtight container in the refrigerator until ready to serve.
Notes
- You can achieve a brighter red color rather than a deeper red by decreasing the amount of cocoa powder to 4 tablespoons, but the flavor is especially good with the recipe as written.
- The buttermilk really makes for nice, moist doughy whoopie pies! If you don’t have buttermilk, then use my buttermilk substitute recipe.
Nutrition
did you love this recipe?
Share it with me on Facebook and find more recipes on foodfolksandfun for more!
subscribe for new recipes
Get all the latest recipes in your inbox!
connect with us
Make sure to tag #foodfolksandfun on instagram!


Oh these are perfect for Valentines Day! I am not a great baker but this recipe sounds doable! Thanks so much
I love making red velvet treats around Valentines Day, but haven’t tried whoopie pies yet. Getting the ingredients to make this weekend!
These look so yummy! My family is going to love this recipe! Can’t wait to give these a try!
How fun are these?!? So very pretty – and I love that their red color makes them super-festive for both Christmas and Valentine’s Day. Or … well … ANY other day, for that matter! 😉
This is such a perfect treat! Will make it again for Valentine’s Day!
Every year, I did Paula Dean’s red velvet
Whoopie pies for Christmas. The last 2 years they were a throw away, flatter than a pancake! This worked perfectly. Very fluffy! My new go to! Thank you!
I’m so happy that you love this recipe! Thanks for sharing 🙂
I made these for Christmas last year and they were such a hit that I’m making them again this year! I don’t remember if the frosting used one or two 8oz bricks of cream cheese…the recipe says “packages”? Thanks for sharing!!
Hi Paula, thanks for your comment. My apologies for the typo. You will need just 1 (8oz) package of great cheese. I updated the recipe to reflect this.
I can’t rate this because I haven’t made them yet. Planning to this weekend, so I hope you can reply quickly!
For the filling ingredients, it says 8 oz. packageS cream cheese. If “packages” is plural, does that mean TWO 8 oz. packages, or ONE package? If I guess wrong, they’re ruined!
Thank you!
Hi Jim, thanks for your comment. My apologies for the typo. You will need just 1 (8oz) package of great cheese. I updated the recipe to reflect this.
Love it! They came out light and fluffy!! Thanks for such a great recipe!