

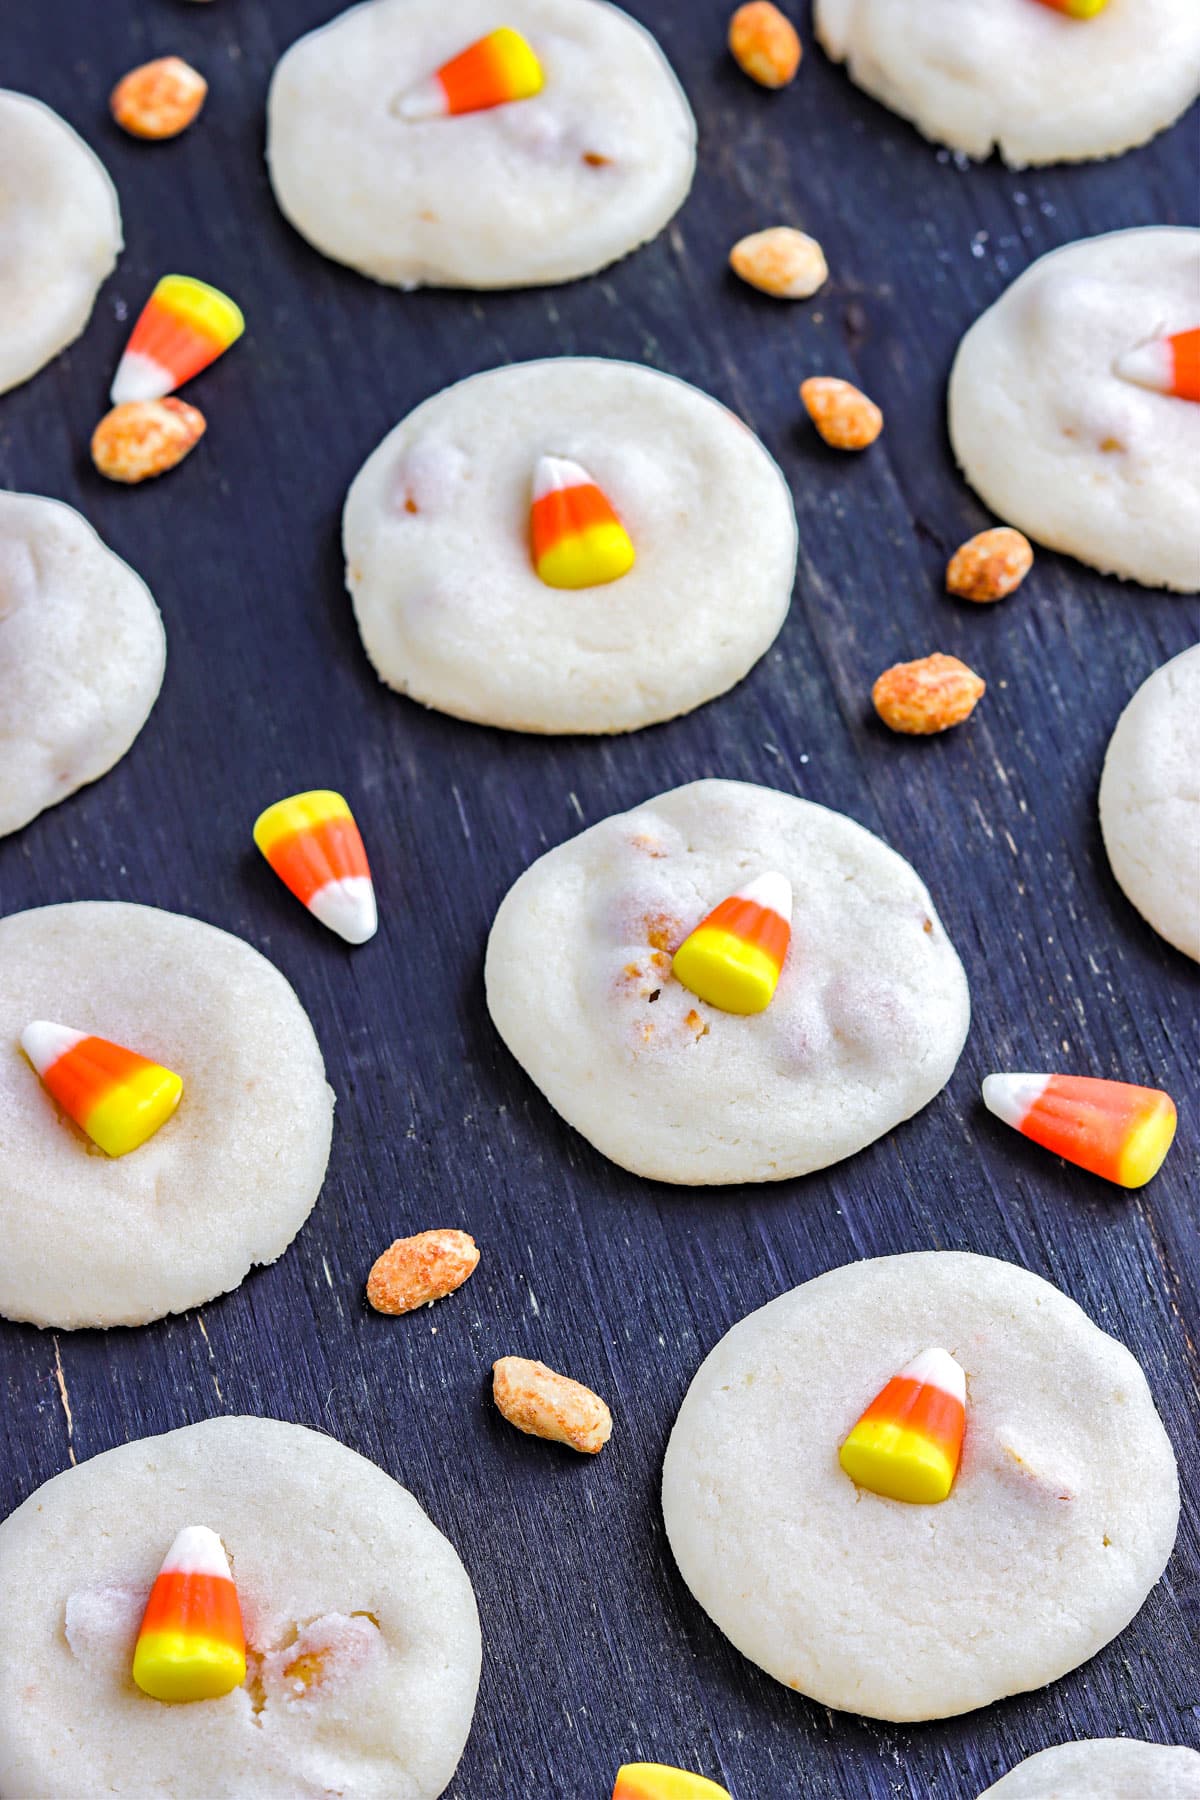
These sweet and salty candy corn cookies are the perfect fall treat for when you want something besides pumpkin or apple flavors! They’re easy to make in bulk and great for parties and potlucks.

Table of Contents
This recipe makes 48 servings and costs about $10.49 to make. That’s just $0.22 per serving.
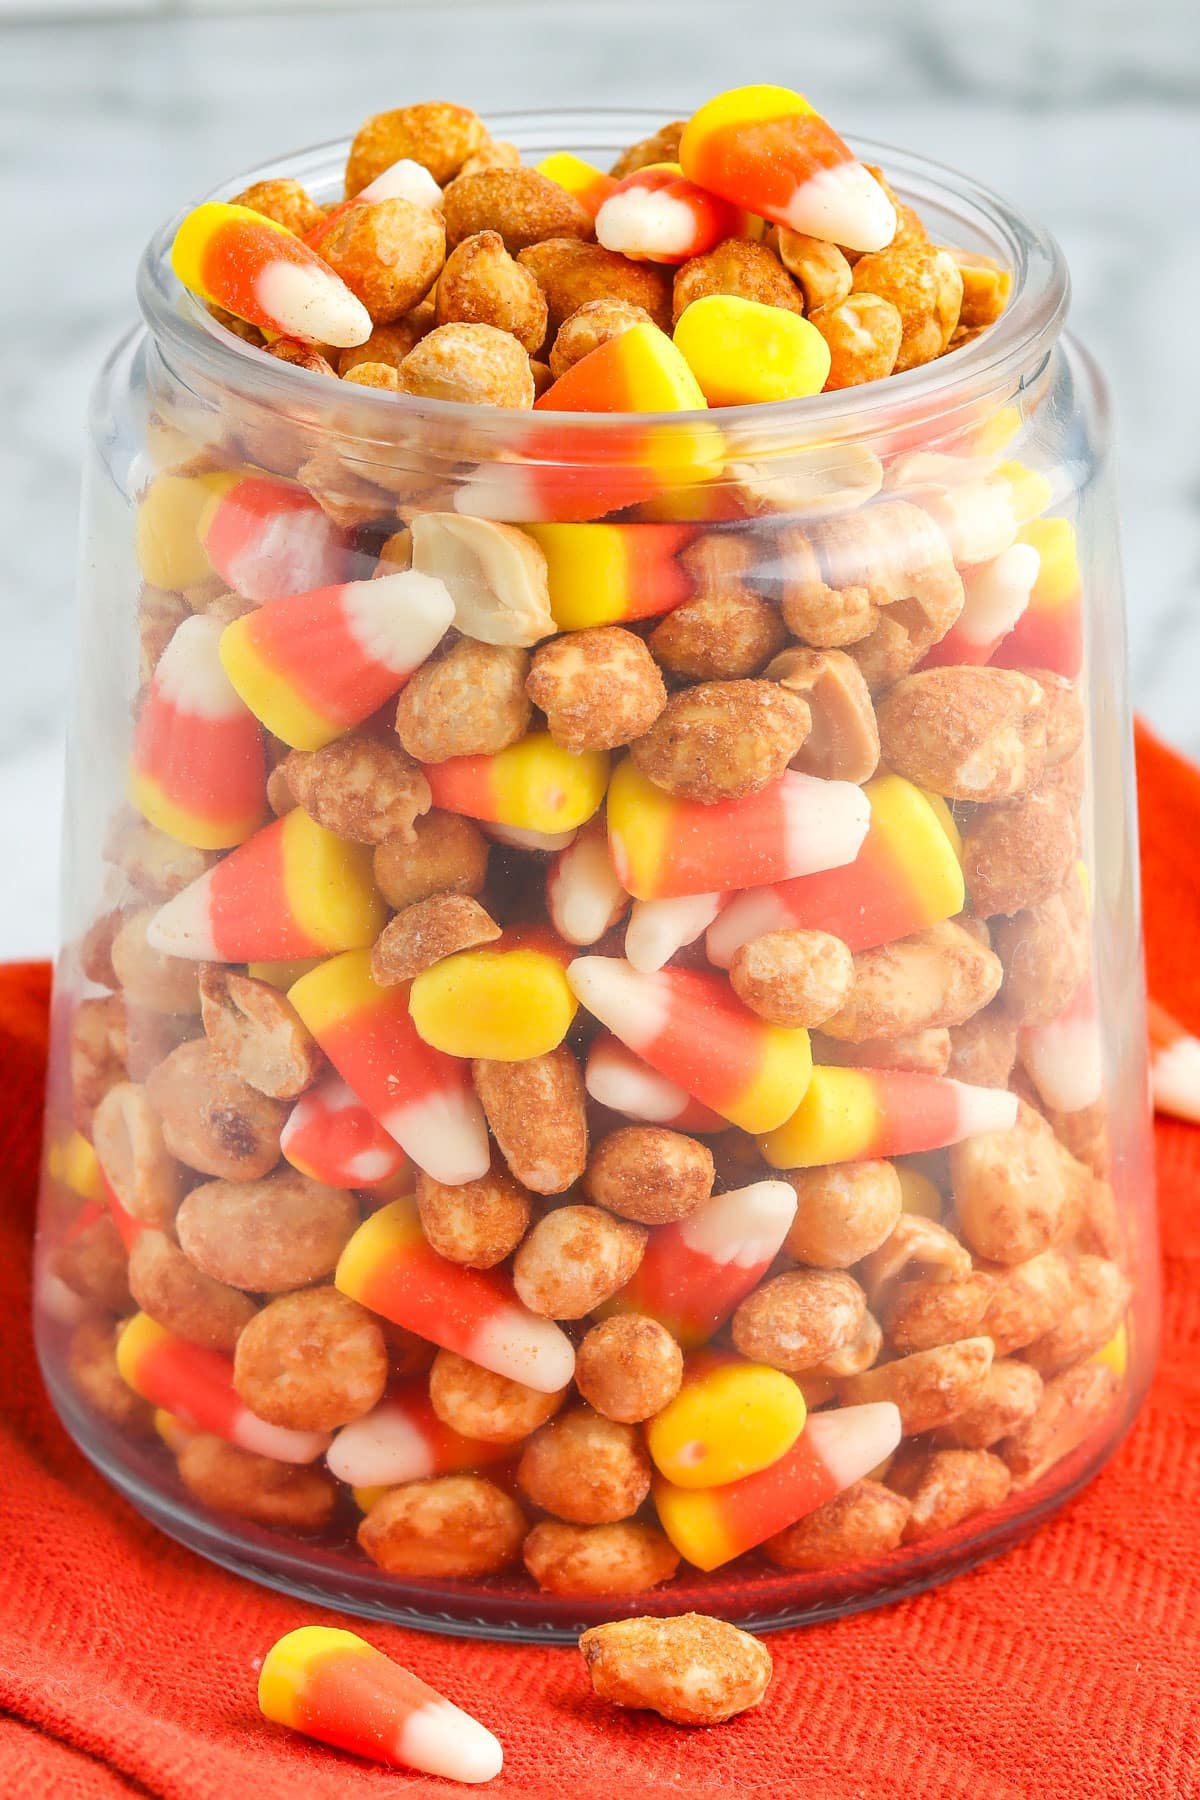
People tend to have a love/hate relationship with candy corn. You may not love it plain, but add a salty ingredient to the mix, and it becomes over-the-top delicious, like in my Candy Corn and Peanuts. These Candy Corn Cookies are no different. They are perfectly sweet, salty, chewy, and slightly crispy around the edges.
Don’t reserve these cookies just for autumn, though. You can quickly adapt the base sugar cookie recipe to make this cookie work year-round. I’ve included fifteen variations on the recipe for you to enjoy on any occasion!
What You’ll Love About Candy Corn Cookies
- Straightforward Instructions: My step-by-step directions make this a simple recipe for any type of cook, from novice to experienced.
- Texture: The soft and chewy bites of candy corn within the cookies are a fun contrast to the cookie’s softness.
- Large batch cookies: This recipe makes forty-eight cookies, which makes them perfect for sharing with others, dropping off at friend’s houses, or taking to a party.
- Sweet and salty: These cookies are perfect if you love a sweet and salty flavor combination.
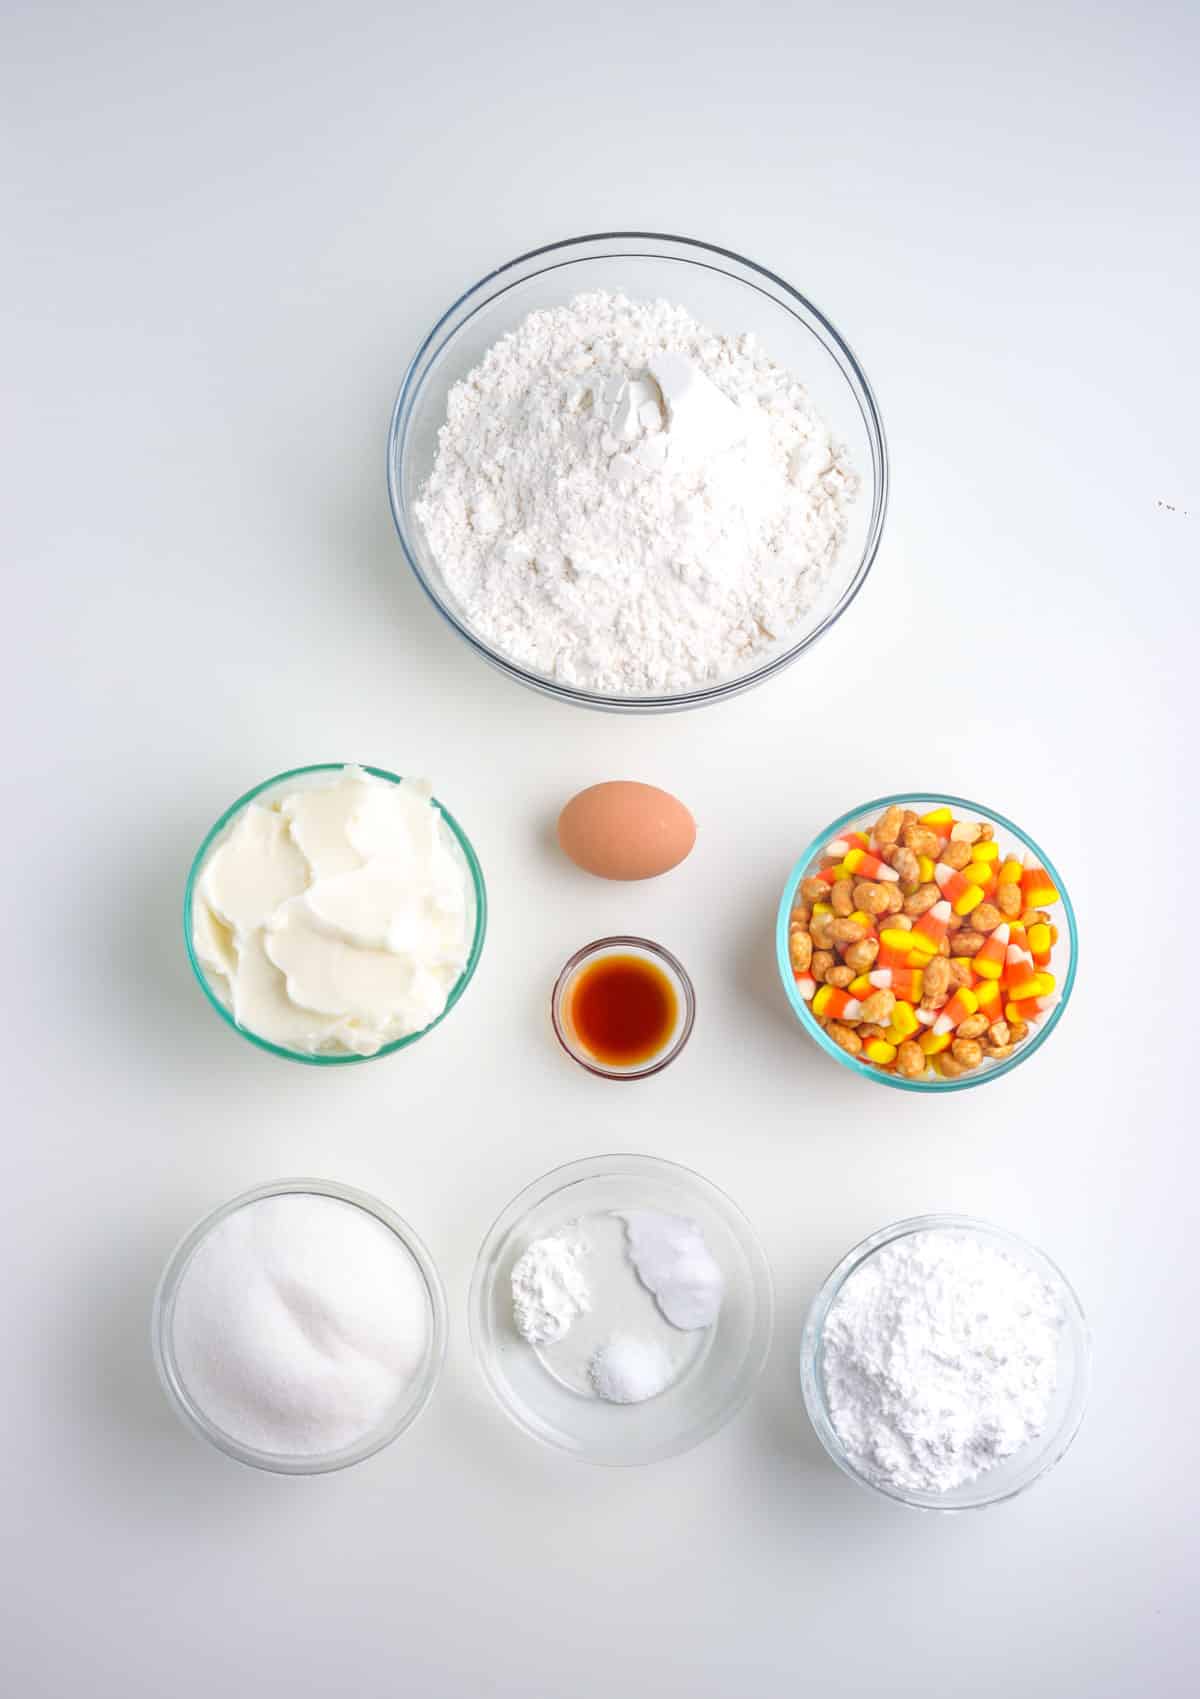
Ingredients and Estimated Cost:
Per Serving Cost: $0.22
Recipe Cost: $10.49
- 4 ¼ cups cake flour: 3.64
- ¾ teaspoon baking powder: $0.03
- ¾ teaspoon baking soda: $0.01
- ¼ teaspoon salt: $0.02
- 2 cups vegetable shortening: $3.18
- 1 cup granulated sugar: $0.30
- 1 cup powdered sugar: $0.40
- 1 teaspoon pure vanilla extract: $0.50
- 1 large egg beaten: 0.43
- 2 cups sweet and salty candy corn mix: $1.98
NOTE: The recipe prices are calculated by using grocery store websites. The recipe cost is calculated by the amounts needed for the recipe. The actual cost of the recipe will vary depending on what ingredients you already have. I updated the pricing for this recipe in October 2023.
How To Make Candy Corn Cookies:
***For complete recipe instructions, see the recipe card below.
- Move your oven racks to the upper-middle and lower-middle positions and preheat the oven to 375° F.
- Line 2 cookie sheets with silicone baking mats or parchment paper.
- Combine the cake flour, baking powder, baking soda, and salt in a medium bowl.
- Mix the vegetable shortening and sugars on low speed until combined (about 1 minute) in the bowl of a stand mixer fitted with a paddle attachment.
- Increase speed to medium and cream together for 3 minutes.
- Add vanilla and egg and mix until combined.
- Slowly add the flour mixture to the bowl and pulse until it’s combined and no flour streaks remain. Do not overmix!
- Fold in the candy corn mix.
- Use a 1 ½ tablespoon scoop to scoop batter onto the prepared cookie sheet.
- Use your palm to flatten the mixture slightly.
- Bake cookies for 9-10 minutes. You’ll know they’re done because small cracks will appear on the surface and turn very pale gold. (The edges won’t brown.)
- If desired, place 1 candy corn in the center of each cookie after they come out of the oven.
- Let cookies cool on the baking sheet for 5 minutes, then move to a wire rack to cool completely.
- Repeat with the remaining dough.

Recipe Variations
Try these cookie variations instead of using candy corn and peanuts in the cookies.
- Peppermint: Add 2 cups of crushed candy canes OR 2 cups of Andes Peppermint Crunch Baking Chips to the batter.
- Peppermint and Chocolate: Add 1 cup of crushed candy canes and 1 cup of mini chocolate chips to the batter. OR Add 1 cup of Andes Peppermint Crunch Baking Chips and 1 cup of mini chocolate chips to the batter.
- Orange and Chocolate: Add 1 Tablespoon of orange zest, 1 teaspoon of orange extract, and 2 cups of mini chocolate chips to the batter.
- Cherry Almond: Add 1 cup of dried cherries and 1 cup of sliced almonds to the batter.
- Cherry and Chocolate: Add 1 cup of dried cherries and 1 cup of dark chocolate chips or chunks to the batter.
- Pistachio and Cranberry: Add 1 cup of chopped pistachios and 1 cup of dried cranberries to the batter.
- Stracciatella: Add 2 cups of shaved dark chocolate that was frozen for 20 minutes to the batter, and mix until just combined! If you over-mix, you risk losing those beautiful chocolate speckles in your cookies!
- Lemon Cookies: Add 2 Tablespoons lemon zest with 2 cups of white chocolate chips to the batter.
- Lime Cookies: Add 2 Tablespoons lime zest with 2 cups of white chocolate chips to the batter.
- Chocolate Chip: Add 2 cups of your favorite chips (I like chocolate chunks or mini chocolate chips in these).
- Peanut Butter and Chocolate: Use 1 cup of vegetable shortening and 1 cup of peanut butter in the recipe below. Then add 2 cups of chocolate chips.
- Peanut Butter Blossoms: Use 1 cup of vegetable shortening and 1 cup of peanut butter in the recipe below. Roll dough into balls, roll the balls in sugar, and flatten with 2 forks to form a criss-cross pattern. Then, 3 minutes before they come out of the oven, press an unwrapped Hershey’s Kiss into the top of each cookie. Finally, return them to the oven to bake for 3 minutes.
- Chocolate Hazelnut: Add 1 cup of roasted, chopped hazelnuts and 1 cup of chocolate chunks to the batter.
- Toffee: Add 2 cups of toffee chips to the batter.
- Black and White: Add 1 cup of dark chocolate chips and 1 cup of white chocolate chips to the batter.
Storage Tips
SERVE: Wait for the cookies to cool before serving them! This shouldn’t take longer than a half hour or so.
STORE: You can store the cooled cookies at room temperature for up to a week in an airtight container. They’ll be fine for an additional week in the fridge, but they may start to go stale before that. If you don’t mind stale cookies, they’re edible, just not as fresh.
FREEZE: You can freeze the dough or the baked cookies for up to 4 months.
REHEAT: You can bake the dough right from the freezer. No need to thaw it! For already-baked cookies, let them thaw in the fridge overnight.
Recipe FAQs
This recipe should produce 48 cookies, more or less! It’s an excellent recipe for bake sales, potlucks, etc.
You’ll need 20 minutes of prep time and about 45 minutes of cook time. The rest is waiting for the cookies to cook down so you can gobble them right up!
No problem! Make your own using my cake flour substitute recipe.

More Cookies Recipes:
- Ginger Snaps
- Biscoff Blondies
- Pumpkin Blossom Cookies
- Chewy Pumpkin Chocolate Chip Cookies
- Pumpkin Spice Macarons
- The Ultimate Fall Cookies: Colorful Leaf Cookies
- Soft Pumpkin Chocolate Chip Cookies
Save The Recipe
Enter your email below & we’ll send a link to this recipe to your inbox & you’ll subscribe for new recipes

Candy Corn Cookies
Equipment
- baking sheets
- silicone baking mats OR parchment paper
- large mixing bowl
- mixing spoon
- stand mixer
- 3-Tablespoon scoop
- wire rack
- Measuring cups
- Measuring spoons
Ingredients
- 4 ¼ cups cake flour
- ¾ teaspoon baking powder
- ¾ teaspoon baking soda
- ¼ teaspoon salt
- 2 cups vegetable shortening
- 1 cup granulated sugar
- 1 cup powdered sugar
- 1 teaspoon pure vanilla extract
- 1 large egg beaten
- 2 cups candy corn and peanuts
Instructions
- Move oven racks to upper-middle and lower-middle positions.
- Preheat the oven to 375°F.
PREP OVEN AND COOKIE SHEETS:
- Line 2 cookie sheets with silicone baking mats or parchment paper.
MAKE COOKIE BATTER:
- In a medium bowl, whisk to combine cake flour, baking powder, baking soda, and salt; set aside.
- In the bowl of a stand mixer fitted with a paddle attachment, mix vegetable shortening and sugars on low speed until combined, about 1 minute.
- Increase speed to medium and cream together for 3 minutes.
- Add vanilla and egg and mix until combined.
- Slowly add flour mixture to bowl and pulse until combined, and no flour streaks remain, do not overmix!
- Fold in the candy corn and peanuts.
SCOOP AND BAKE:
- Use a 3-tablespoon scoop to scoop the batter onto the prepared cookie sheets.
- Use the palm of your hand to flatten the mixture slightly.
- If desired, place 1 candy corn in the center of each cookie.
- Bake cookies for 9-10 minutes. You’ll know they are done because small cracks appear on the surface; they turn very pale golden, but the edges are not browned.
- Let cookies cool on the baking sheets for 5 minutes, then move to a wire rack to cool completely.
- Repeat with the remaining dough.
Nutrition
did you love this recipe?
Share it with me on Facebook and find more recipes on foodfolksandfun for more!


subscribe for new recipes
Get all the latest recipes in your inbox!
connect with us
Make sure to tag #foodfolksandfun on instagram!


These look so fun, I bet the kiddos will love them for a post sledding holiday treat!
Such a classic recipe and I love all the variations you’ve given, I’ll be making these year round!
These look so perfect – would love to serve these as a little treat on Thanksgiving! Kids would LOVE them!
My husband and daughter love this recipe! Definitely a big hit here at the house! Can’t wait to make these again!
Perfect way to use up my leftover candy! Love that this recipes yields so many. Sharing is caring!