
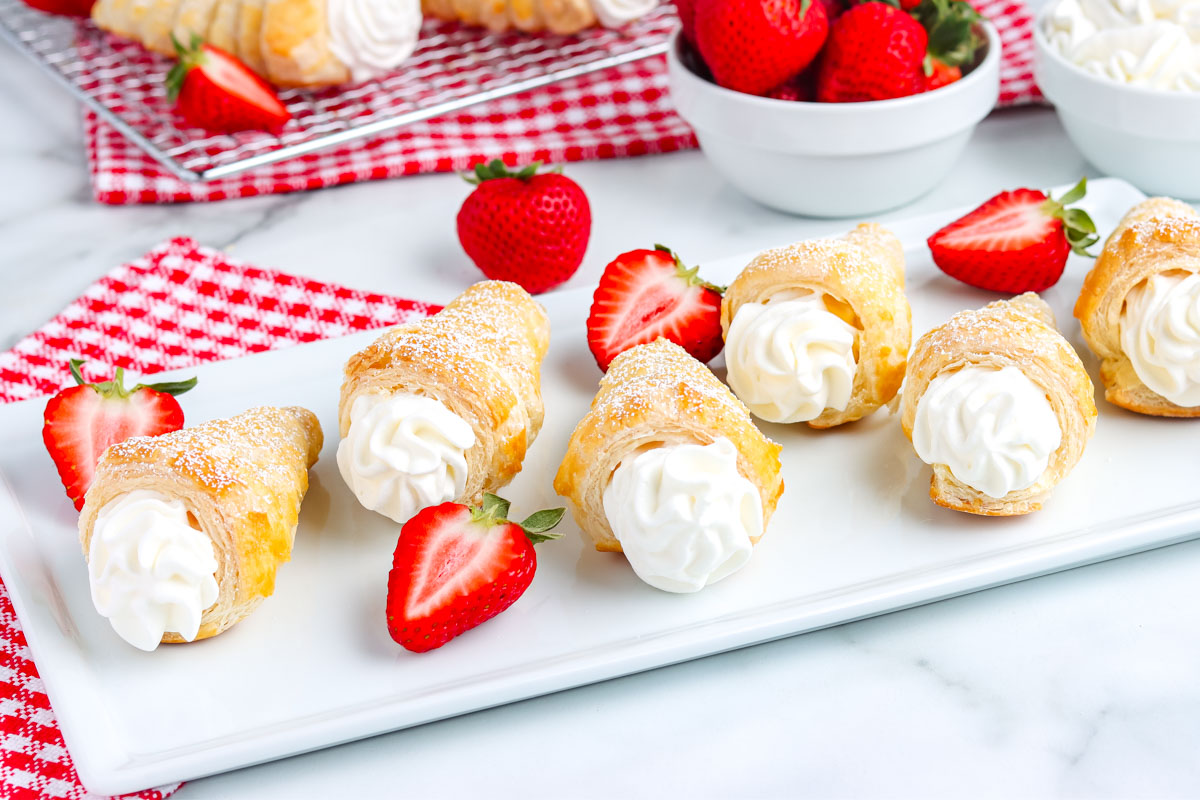
These Puff Pastry Cream Horns feature light, flaky puff pastry wrapped around cream horn molds and filled with sweet, fluffy vanilla whipped cream. They’re elegant yet surprisingly simple to make, and perfect for holidays, parties, or any time you want a bakery-quality dessert at home.
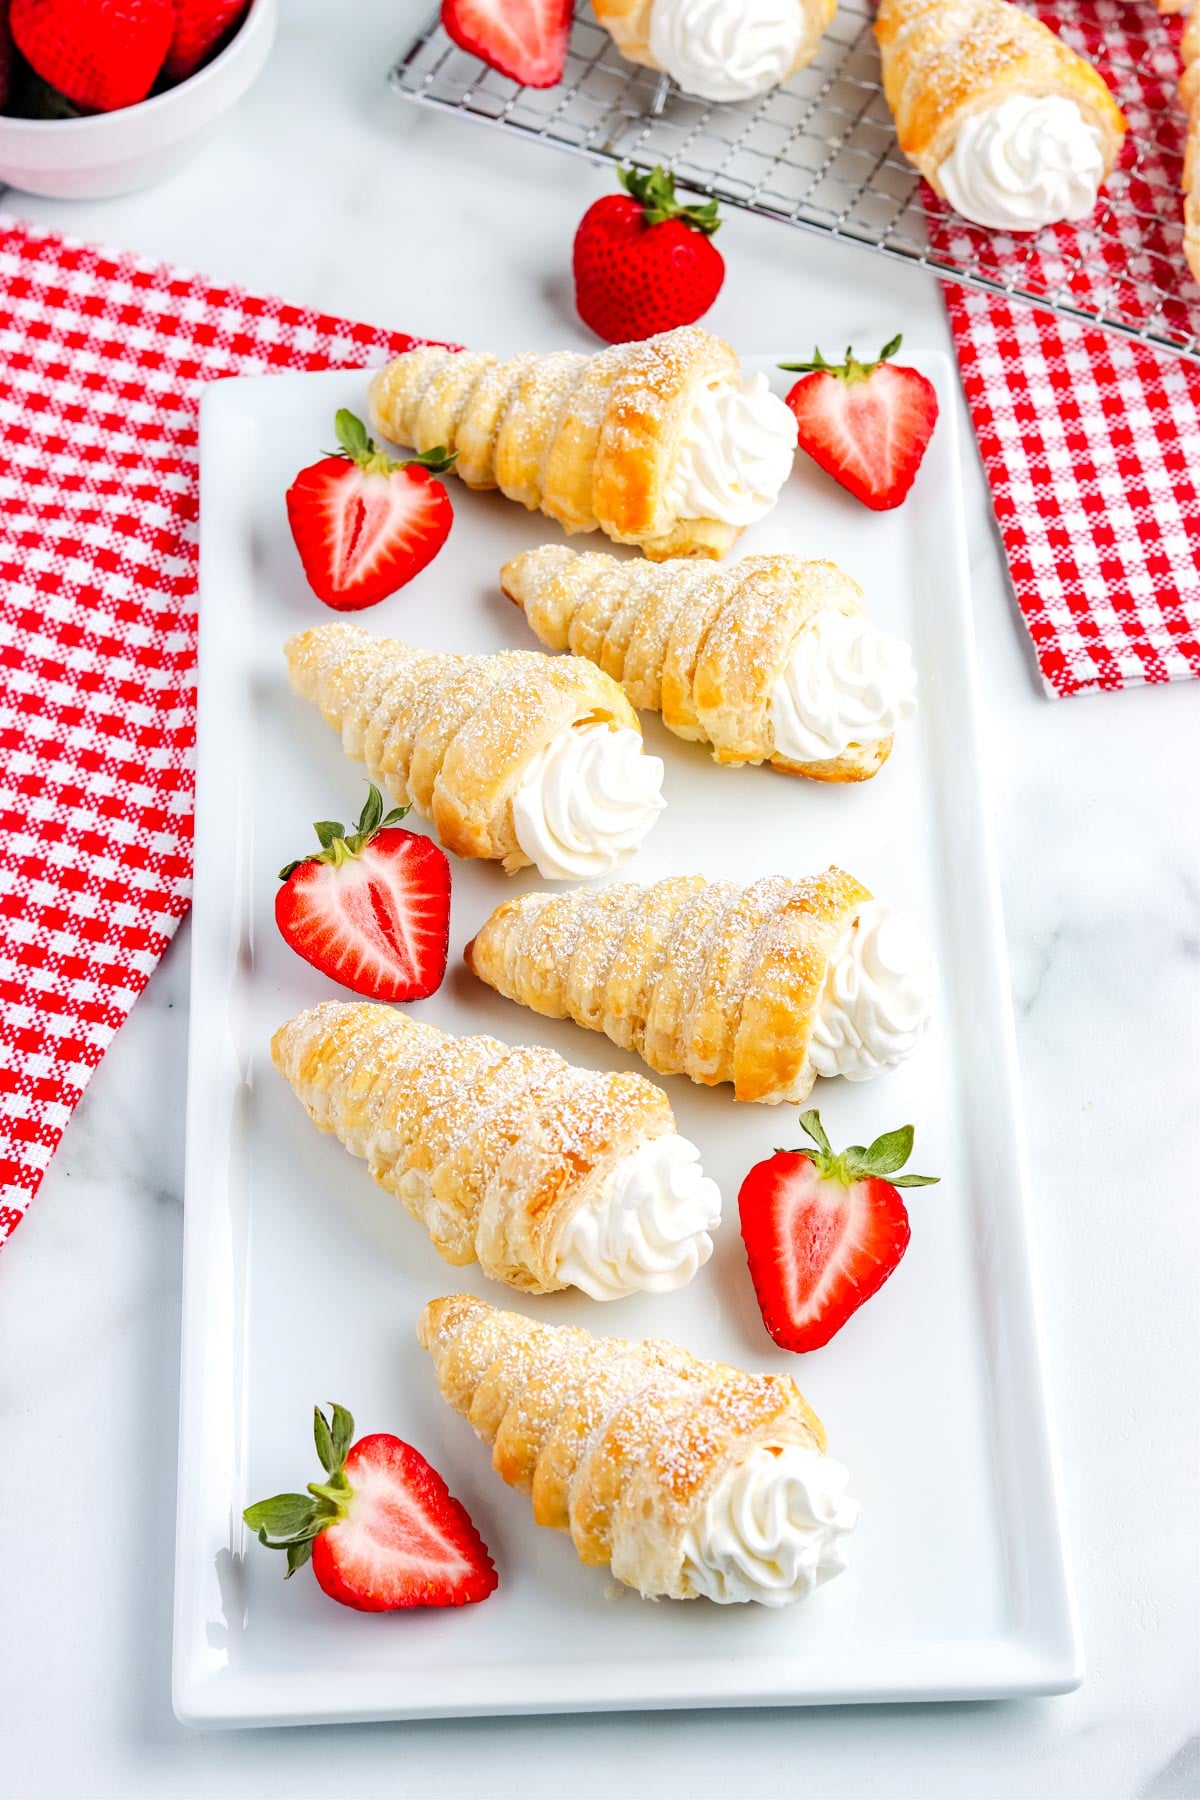
Table of Contents
Italian Cream Horns Made Easy with Puff Pastry

Something is just so charming about the way puff pastry transforms into bakery-style magic with almost no effort. These puff pastry cream horns—also known as Italian cream horns or cannoncini—bring the best of both worlds: crisp, golden layers on the outside and fluffy vanilla cream on the inside. They look like a pastry case treat, but they start with a simple box of puff pastry and a quick homemade whipped cream.
Whether you’re hosting a brunch, planning dessert for guests, or simply craving something elegant but easy, this recipe delivers both beauty and comfort.
In this post, I’ll share a few pro tips for perfect layers, explain why clear vanilla keeps your cream bright, and help you adapt the recipe to your own kitchen. Let’s get started!

Ingredients, Estimated Cost, and More!
Per Serving Cost: $0.71
Recipe Cost: $8.59
Below are all the recipe ingredients, along with tips and substitutions.

| Ingredients | Why & Tips | Substitutions & Tweaks |
|---|---|---|
| 1 box (17.3 oz) puff pastry, thawed | Ready-made puff pastry gives those signature flaky, buttery layers without the work of lamination. | Gluten-free puff pastry or homemade rough-puff dough works too. Just bake slightly longer if using gluten-free. |
| 1 large egg | Gives the pastry a glossy, bakery-style finish when brushed on top. | Brush with milk or cream for a vegan version (use dairy-free pastry). |
| 1 tablespoon water | Loosens the egg wash for smoother application. | Omit for richer color or use milk instead of water. |
| 1 cup heavy whipping cream | The base of your creamy filling. Chill before whipping for best volume. | Use coconut cream for a dairy-free option or mix with mascarpone for a thicker filling. |
| ¼ cup powdered sugar, sifted (plus more for dusting) | Adds sweetness and smooth texture to the whipped cream. Sifting prevents lumps. | Use powdered erythritol for low-sugar or increase sugar slightly for a sweeter filling. |
| 1 teaspoon clear vanilla extract | Keeps the cream bright white while adding flavor. | Regular vanilla extract works fine; almond or orange extract adds variety. |
| Serving options: Fresh strawberries or drizzle of chocolate | Complements the cream with brightness or richness. | Substitute raspberries, caramel drizzle, or a dusting of cocoa powder. |
How To Make Cream Horns
Preheat the oven. Cut and wrap the puff pastry strips around the molds. Bake until golden. Whip the cream until stiff peaks form. Pipe into cooled shells, dust with powdered sugar, and serve.
Step-by-Step Instructions:
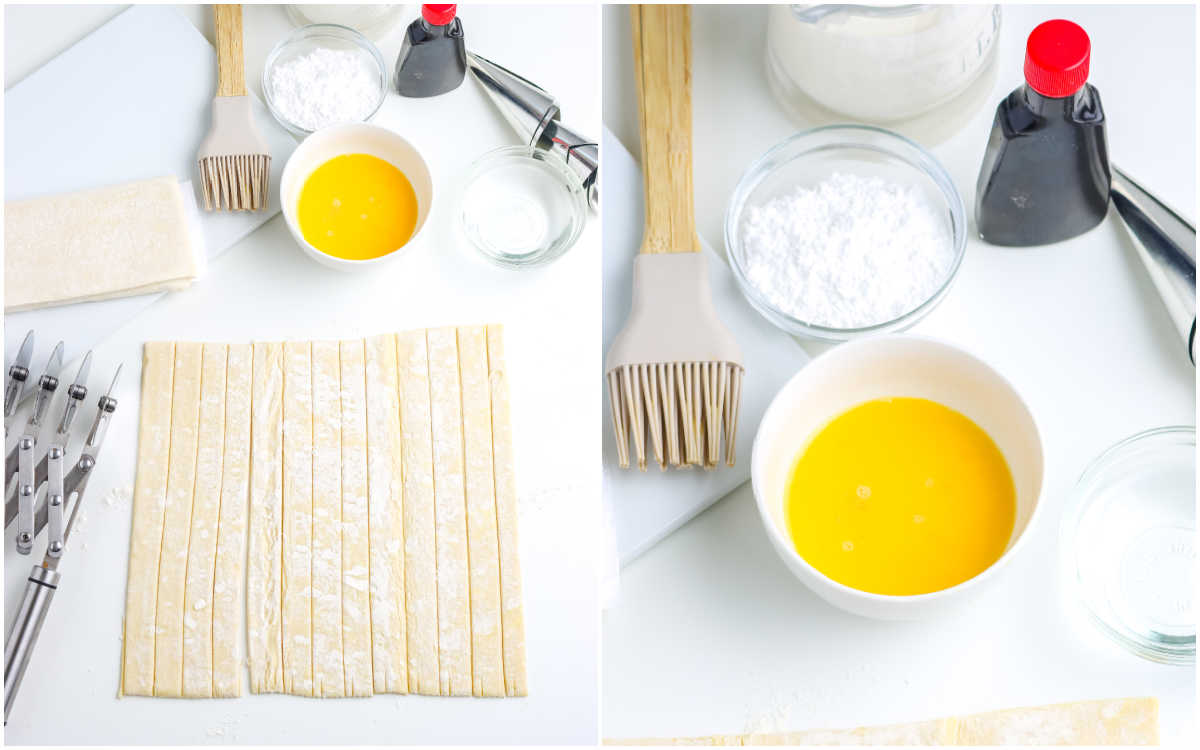
- Unroll one sheet of thawed puff pastry onto a lightly floured surface. Cut the sheet into 12 long strips. Repeat with the other sheet.
- In a small bowl, whisk together the egg + water to make the egg wash.

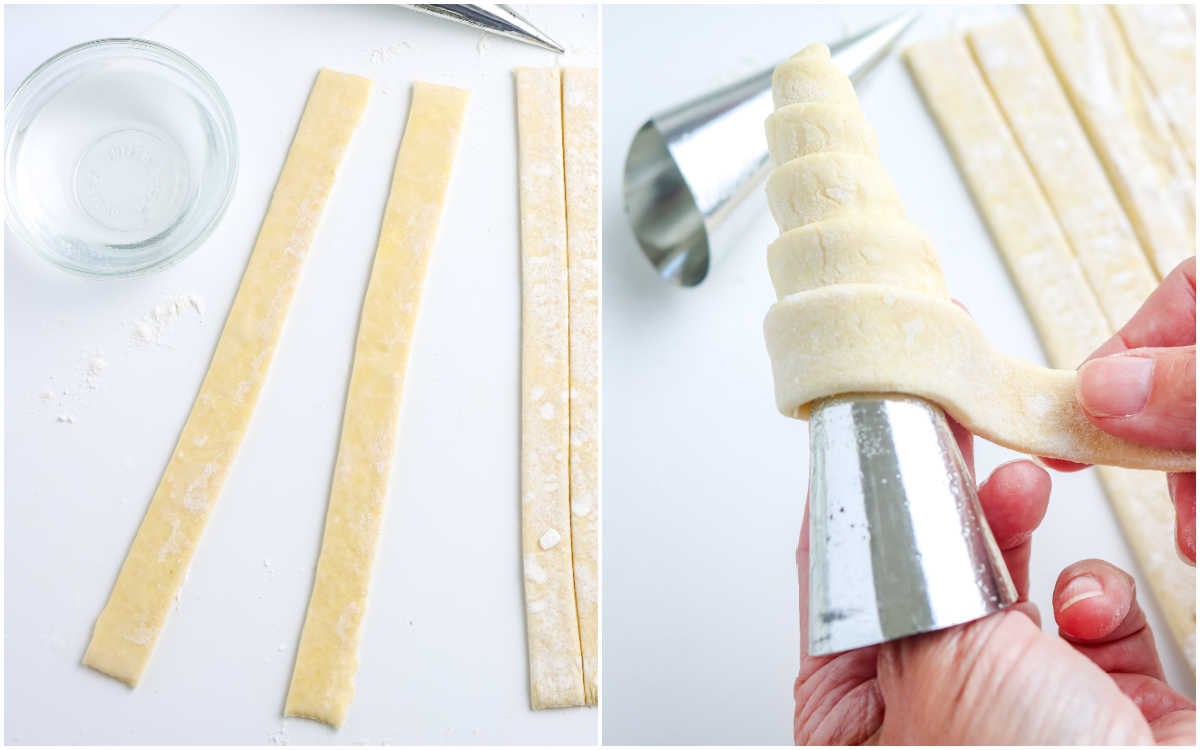
- Flip each pastry strip over and lightly wet one edge and both ends with water (this helps the strip adhere when wrapping).
- Wrap each strip around a cream-horn mold diagonally from one end to the other, slightly overlapping each turn. Use two strips per horn for the recipe yield.
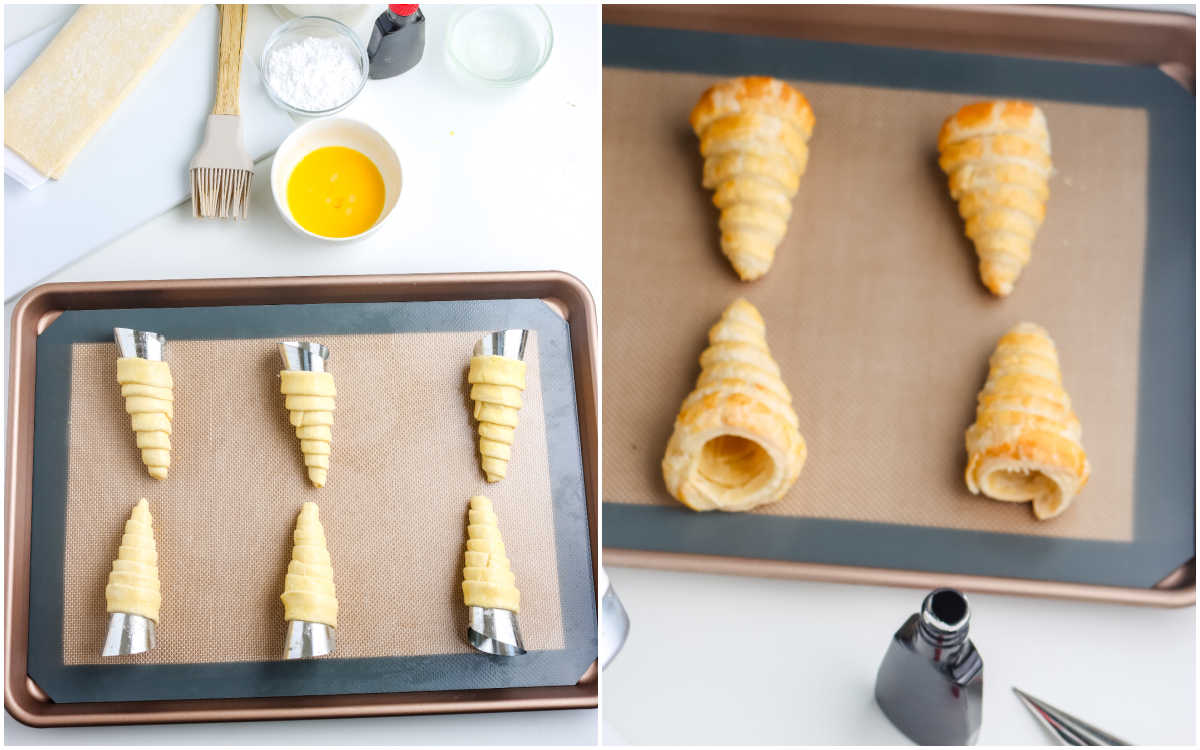
- Place the wrapped molds onto a baking sheet with parchment paper or a silicone baking mat. Brush each wrapper thoroughly with the egg wash, making sure to get into the cracks.
- Bake in a preheated 400°F oven for 12–15 minutes or until golden brown. Transfer to a wire cooling rack, allow to cool completely, then carefully remove the molds.
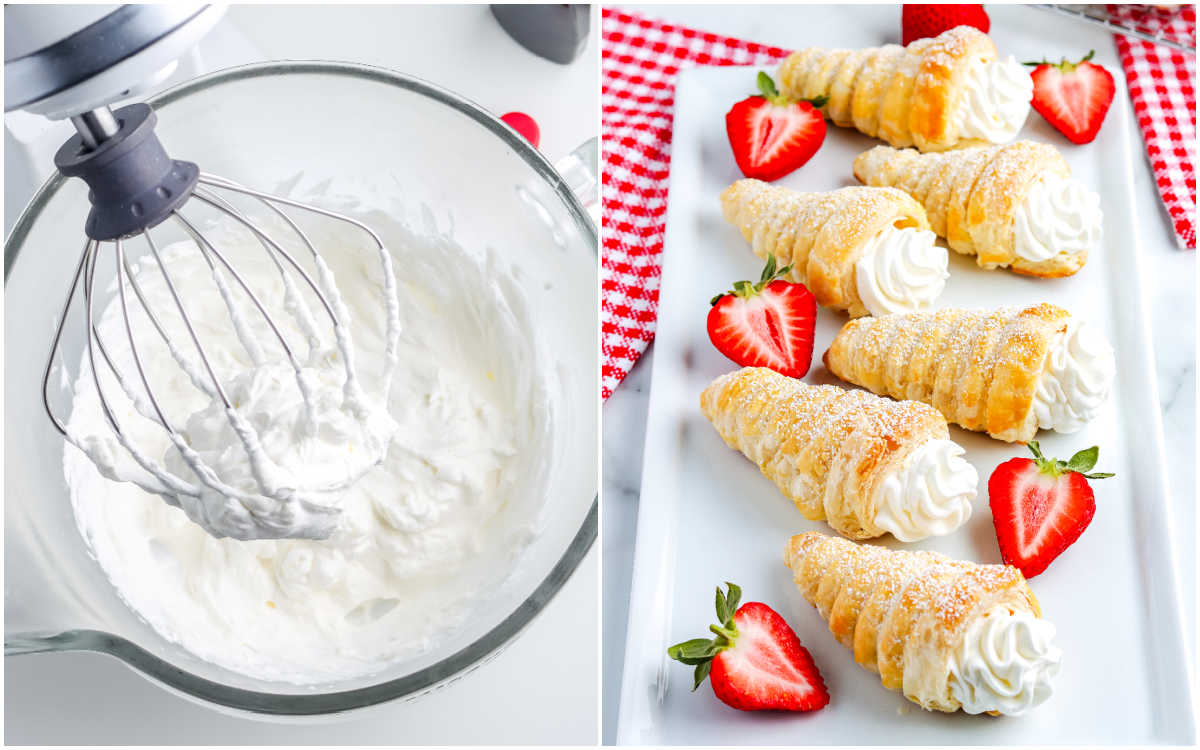
- Chill your mixing bowl for the filling. Once the horns are completely cool, pour the chilled heavy whipping cream and vanilla extract into the bowl. Beat until soft peaks form, then add the sifted powdered sugar and continue beating until stiff peaks form.
- Transfer the whipped cream to a pastry bag or a zip-top bag with the corner snipped, and pipe the filling into each cooled horn shell. Dust with powdered sugar if desired, and serve with fresh strawberries or a drizzle of chocolate sauce.
Top Recipe Tips for Success
- Chill both the mixing bowl and beaters before whipping for the fluffiest filling.
- Overlap pastry strips slightly so the horns hold their shape.
- Let the puff pastry shells cool completely before filling. Warm pastry softens the cream.
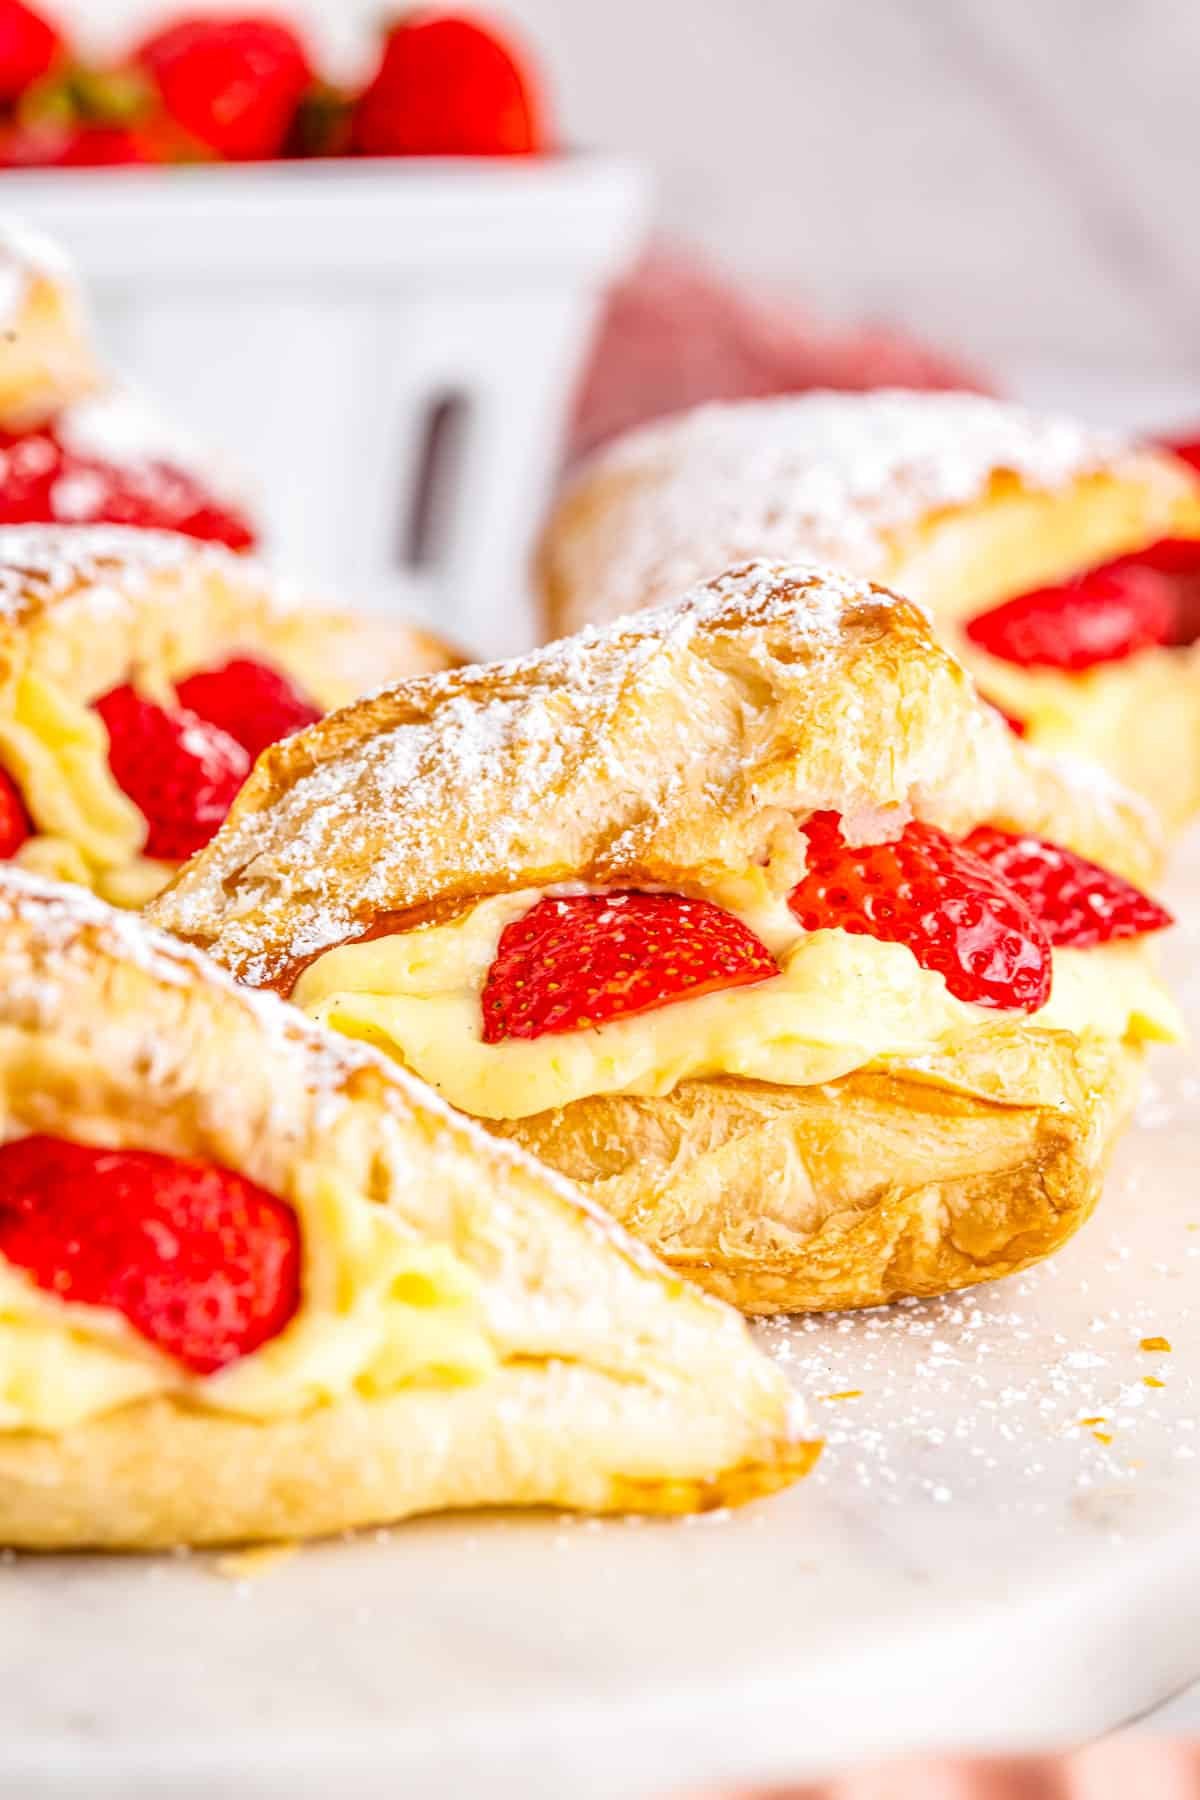
These puff pastry cream horns are proof that elegant desserts don’t need to be complicated. Each flaky layer gives way to soft vanilla cream for a bite that feels both nostalgic and sophisticated. I hope you try this recipe and share it with someone special. Leave a comment to tell me how yours turned out, or tag your creations on social media. And don’t forget to save this recipe on Pinterest so you can make these Italian cream horns anytime the craving hits.
Buon appetito and happy baking!
Save The Recipe
Enter your email below & we’ll send a link to this recipe to your inbox & you’ll subscribe for new recipes
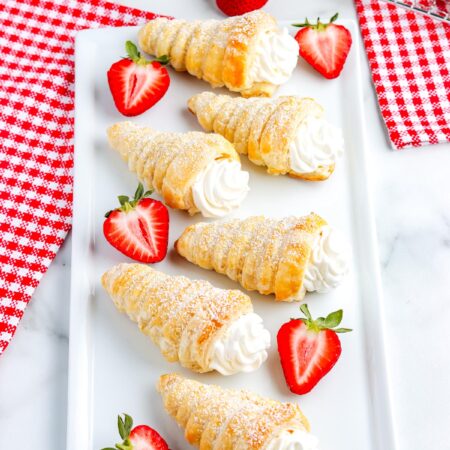
Puff Pastry Cream Horns
Equipment
- baking sheet
- parchment paper or silicone baking mat
- Cream horn molds
- Sharp knife or pizza cutter
- Small bowl (for egg wash)
- Pastry brush or small brush
- wire cooling rack
- Electric mixer
- Mixing bowl (chilled)
- Pastry bag or zip-top bag (for filling)
- Sifter (for powdered sugar)
Ingredients
- 17.3 oz box puff pastry thawed
- 1 large egg
- 1 Tablespoon water
- 1 cup heavy whipping cream
- ¼ cup powdered sugar sifted (plus more for dusting, if desired)
- 1 teaspoon clear vanilla extract*
Serving Options:
- Strawberries
Instructions
Prep the oven and pastry
- Preheat the oven to 400°F. Line a baking sheet with parchment paper or a silicone baking mat. Unroll one sheet of thawed puff pastry onto a lightly floured surface.
Cut and shape
- Using the pastry creases as a guide, cut the sheet into strips — then cut each section into 4 strips. In a small bowl, beat together the egg and water to make an egg wash. Flip each strip over and lightly wet one edge and both ends with water.
Wrap the molds
- Wrap a pastry strip around each cream horn mold diagonally from one end to the other, slightly overlapping each turn. It will take 2 strips per horn.
Bake the pastry
- Brush the wrapped molds with egg wash, making sure to get into the cracks. Bake for 12–15 minutes or until golden brown. Transfer to a wire rack to cool completely, about 1 hour, then carefully remove the molds.
Make the filling
- Chill the mixing bowl before whipping. When the horns are cool, pour the chilled heavy whipping cream and vanilla extract into the bowl. Beat until soft peaks form. Add sifted powdered sugar and continue beating until stiff peaks form.
Fill and serve
- Transfer the whipped cream to a pastry bag and pipe it into each cooled pastry horn. Dust with powdered sugar if desired and serve with fresh strawberries or a drizzle of chocolate sauce.
Notes
Storage Tips
- Refrigerate: Store filled cream horns in an airtight container in the fridge for up to 2 days.
- Make-ahead: You can bake the pastry shells in advance and fill them just before serving.
- Freeze shells: Unfilled shells can be frozen in an airtight container for up to 2 months. Thaw at room temperature before filling.
Baking at High Altitude (3,000 ft and above)
If you live where the air is a little thinner, baking puff pastry can behave differently because moisture evaporates faster, and baked goods can puff unevenly. The good news is that these puff pastry cream horns are easy to adjust for success at altitude. Here’s how to adapt the recipe:- Oven Temperature: Increase the oven temperature to 410°F to help the pastry rise quickly before drying out. This gives you a better lift and flakier layers.
- Baking Time: Shorten the baking time by 1–2 minutes and keep an eye on the color. At altitude, pastries can brown more quickly due to faster evaporation. Pull them when they’re a rich golden color.
- Liquid Adjustments: If your dough feels dry when wrapping, brush the pastry strips with a little extra water along the edges. The lower humidity at high altitude can make puff pastry less pliable.
- Whipped Cream Stability: Because cream can whip a little faster in drier air, stop the mixer as soon as you reach stiff peaks to avoid over-whipping. For extra stability (especially if serving outdoors), you can add 1 tablespoon of instant pudding mix or 1 teaspoon of cornstarch while whipping.
- Cooling and Filling: Let the baked shells cool in a slightly humid environment if possible. Cover them loosely with a clean kitchen towel to help prevent cracking before filling.
Nutrition
did you love this recipe?
Share it with me on Facebook and find more recipes on foodfolksandfun for more!
Recipe FAQs
Do not skip wetting the ends with a little water. This will help seal the pastry ends and keep them from unrolling.
This is a trick for helping the heavy cream whip faster and to hold its shape better.
Yes, you can bake the shells up to two days in advance. Store them in an airtight container at room temperature before filling them.
Yes, in Italy they’re called cannoncini, meaning “little cannons.” The version most home bakers make uses puff pastry for ease and lightness.
You can, but freshly whipped cream tastes richer and holds up better when piped.
Bake until golden and cool fully before removing from molds. Fill just before serving to prevent softening from moisture.
Absolutely. Cut narrower strips and use smaller molds (or make makeshift ones from foil). Reduce bake time slightly.
Try pastry cream, cannoli cream, Nutella mousse, or a mix of mascarpone and lemon zest for an Italian twist.
More Desserts Made With Puffed Pastry

subscribe for new recipes
Get all the latest recipes in your inbox!
connect with us
Make sure to tag #foodfolksandfun on instagram!